Register New Account
1. To start the registration process browse to the NER Portal website and click on the “Register New Account” button.
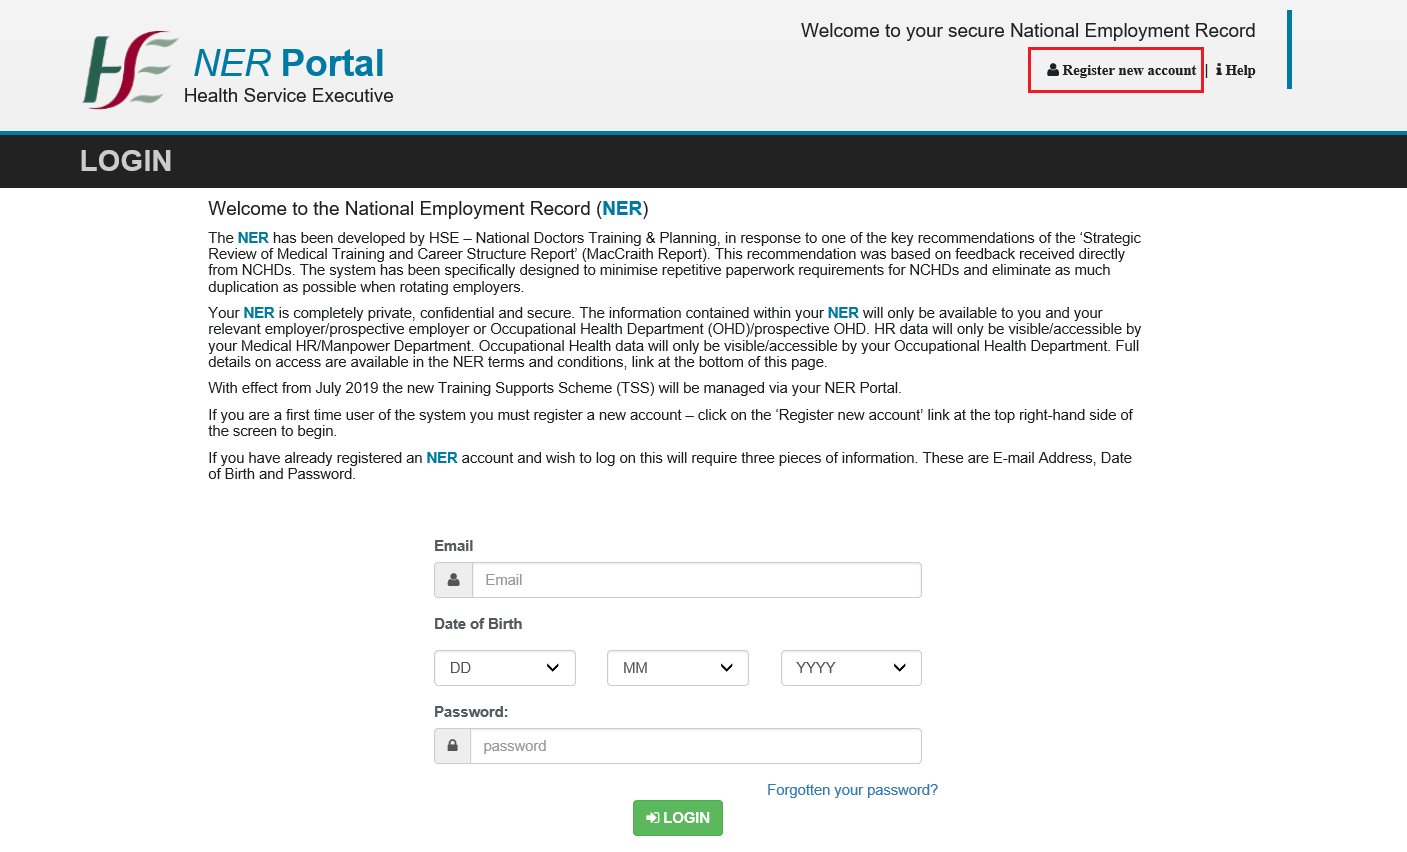
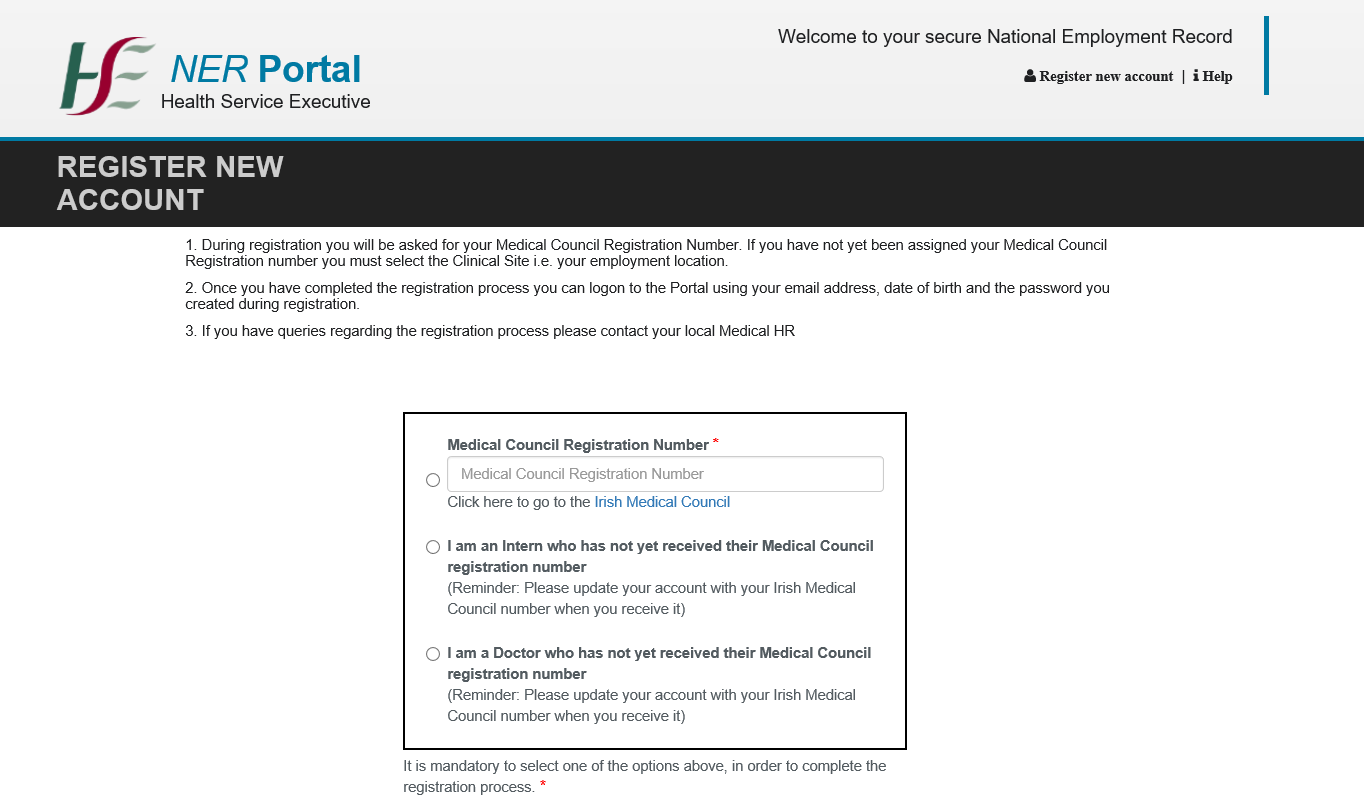
2.
This opens the registration screen where you are required to fill all minimum required information. The required minimum fields that you must provide on the Registration screen are:
• Email Address
• Forename
• Surname
• Date of Birth
• Medical Council Registration Number OR Clinical Site
• Password
• Password Confirmation
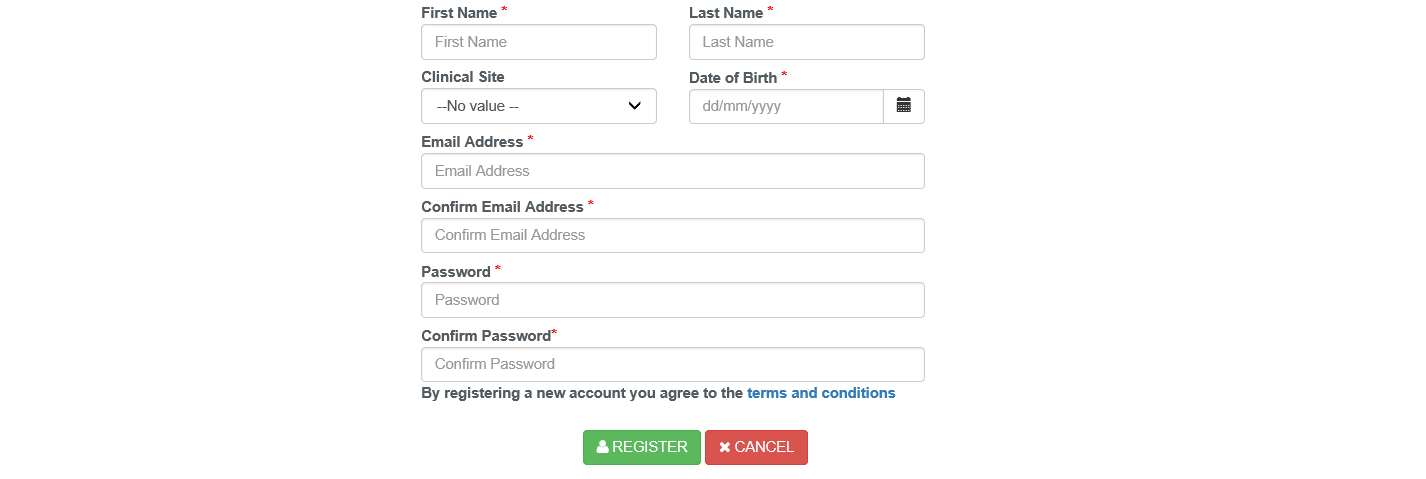
3. When you have entered all of the required fields it is possible to submit your registration details and accept the terms and conditions by pressing the “REGISTER” button (You must accept the terms and conditions of use in order to proceed to the Complete Registration Stage)
4. You may then return to the main log in screen and enter your credentials
Logging into NER Portal
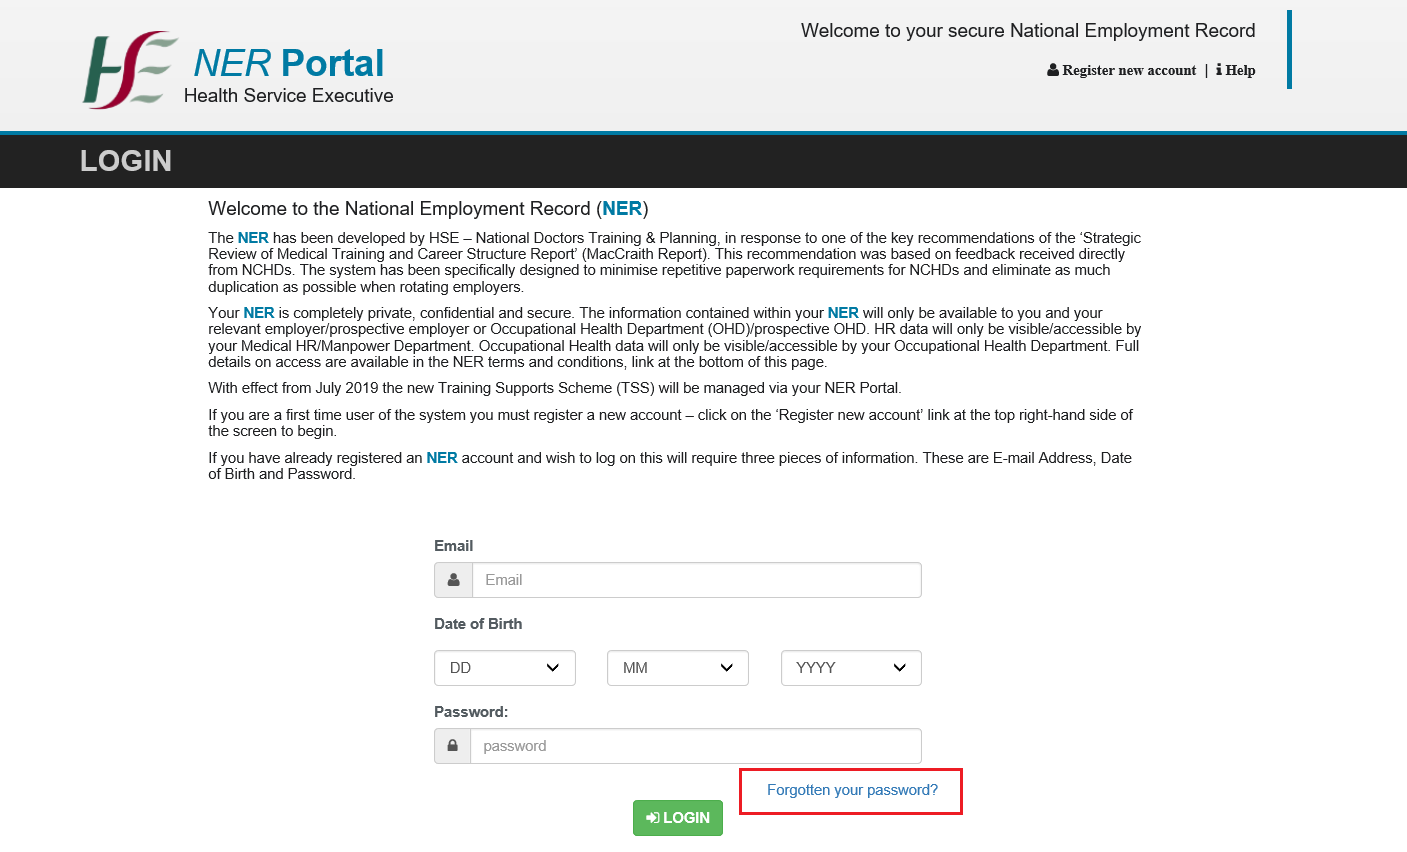
1. Browse to the NER Portal website and enter either your Email address, Date of Birth and Password.

2. After successfully logging in for the first time you will be asked to fill all minimum details required in the Hire Form. This screen will appear upon login until all required fields have been filled.
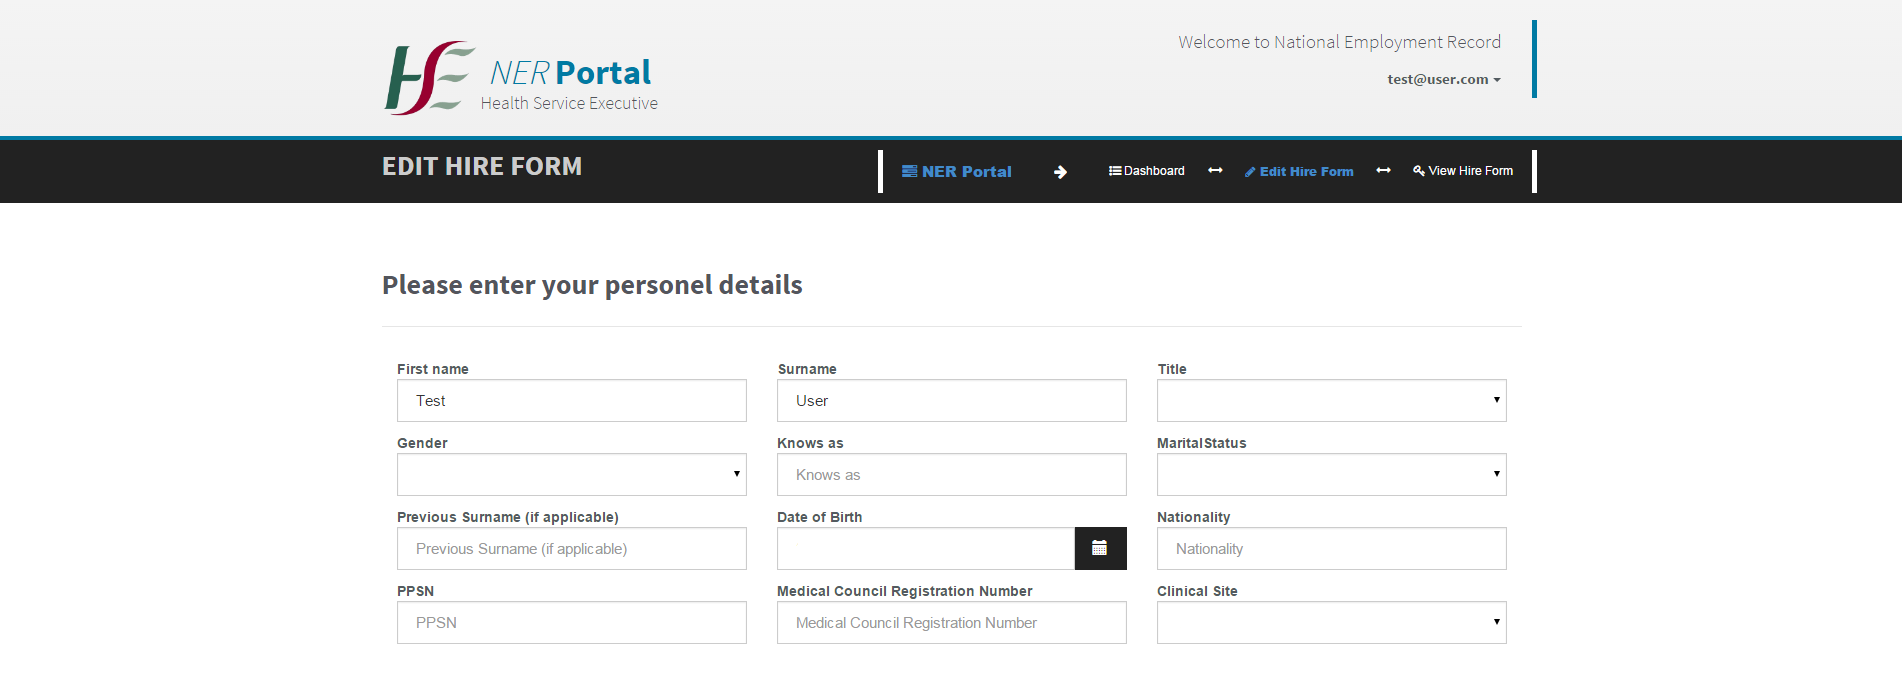
3. Once this has been completed you will be directed to the NER Portal Dashboard.
Forgot Password
1. It is possible to reset your password for the portal by clicking on the “Forgot Your Password” link on the log in screen.
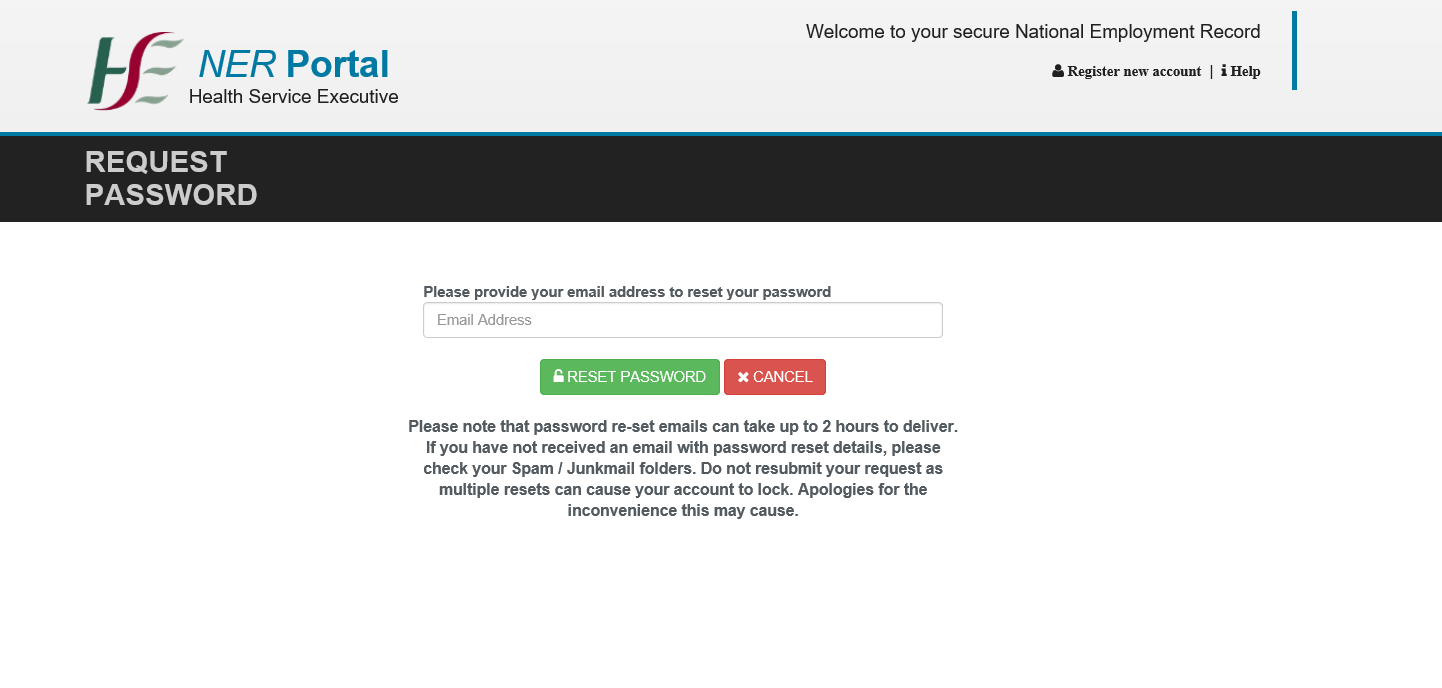
2. You will then be brought to a screen where you can enter your email address and select the “Reset Password” button. Doing so causes the System to send an email to the provided email address with a link to the Change Password Screen.
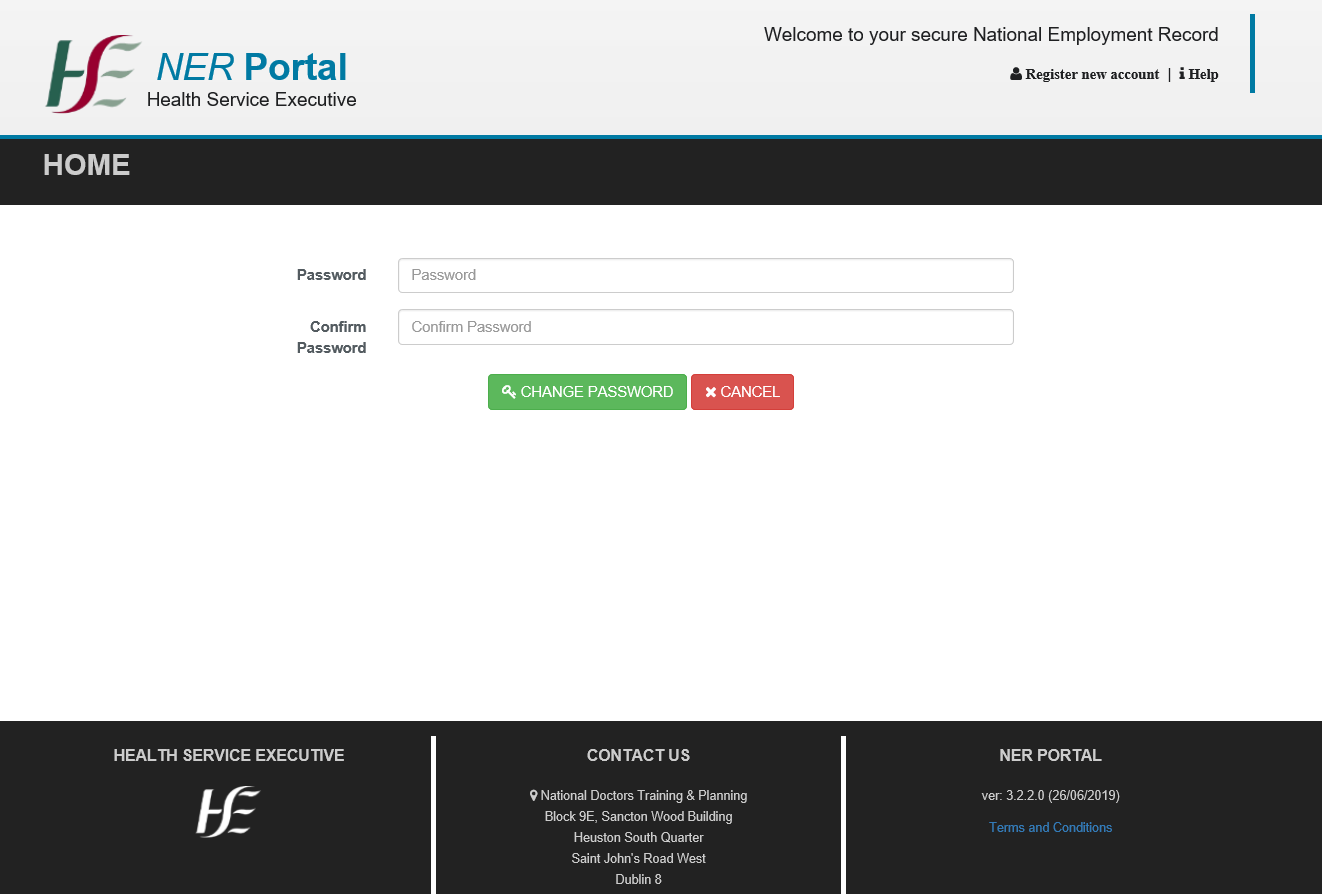
3. The user is then brought to the Change Password screen where they can enter their desired password and password confirmation.
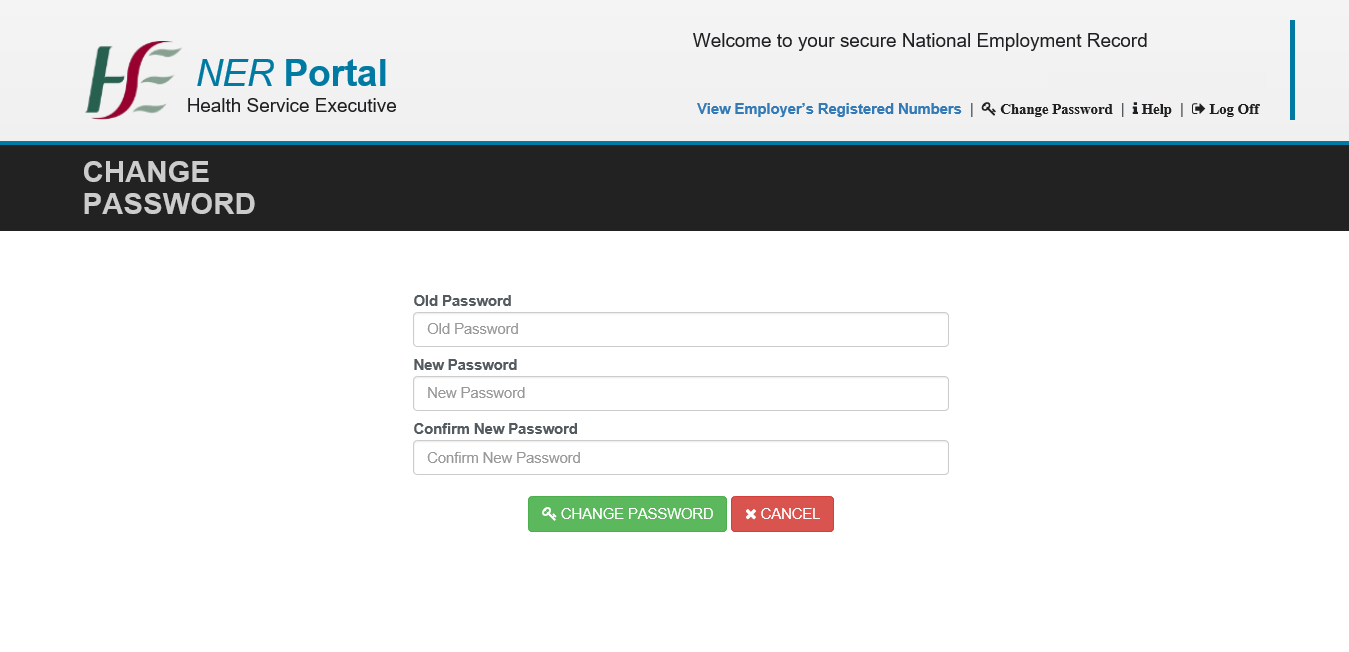
Change Password
1. It is possible to change your password for the Portal by clicking on the “Change Password” link on any of the Portal pages.

2. You will then be brought to the “Change Password” screen where you are required to enter your old password, new password (that conforms to the NER Password Policy) & new password confirmation.
NER Home Page
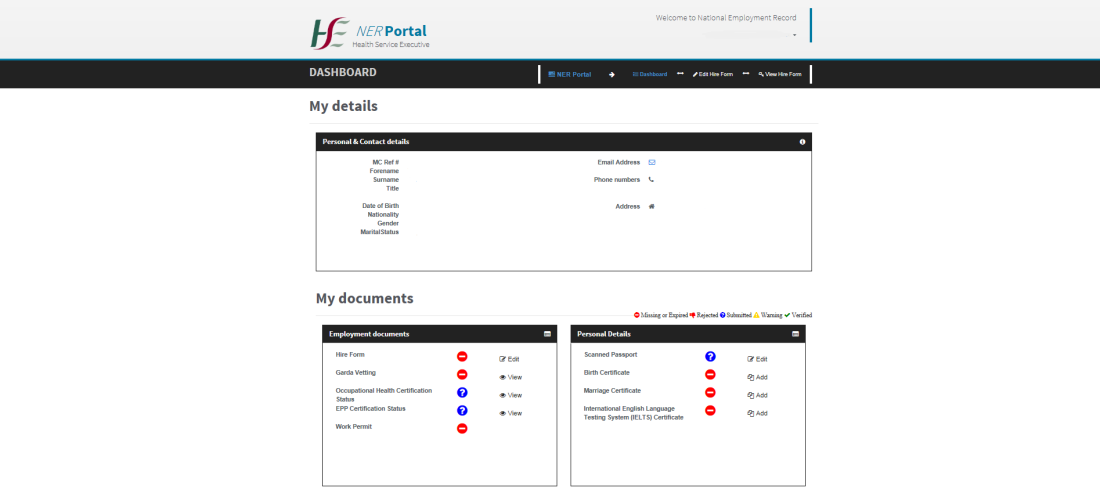
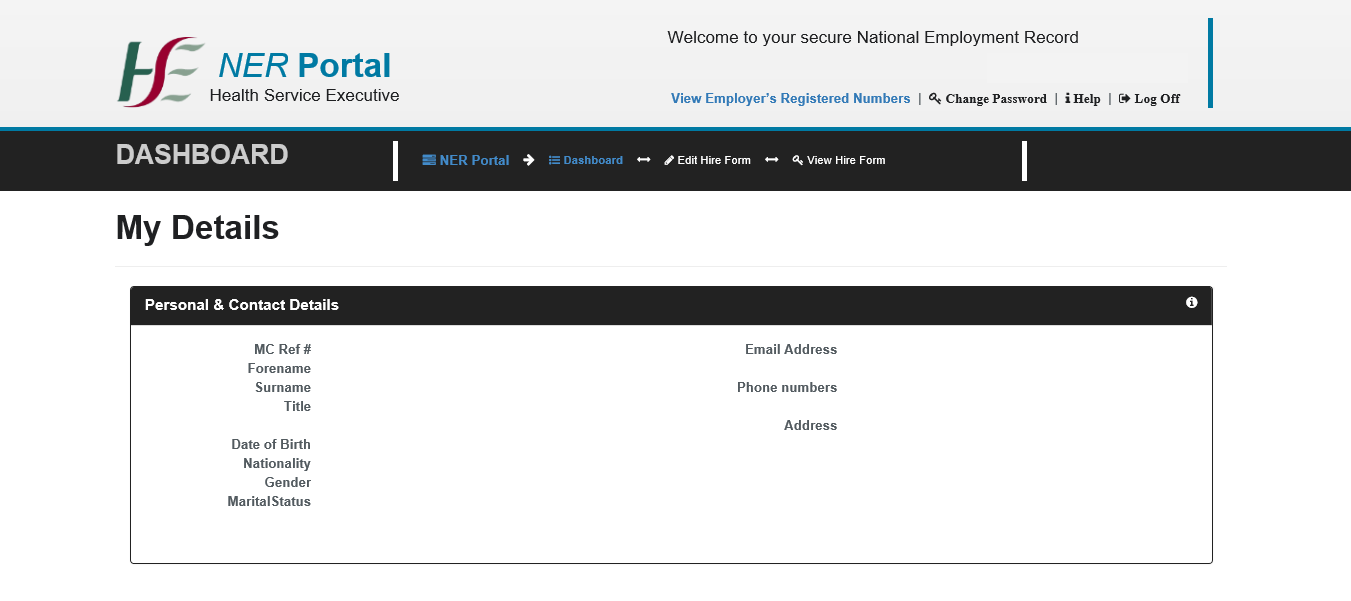
1. It is possible to view an overview of your employee information and documentation on the user Home Page screen.
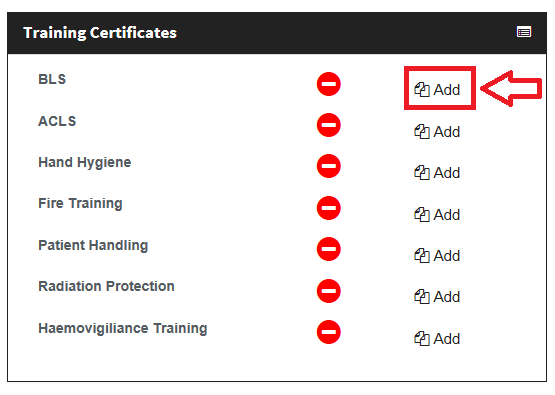
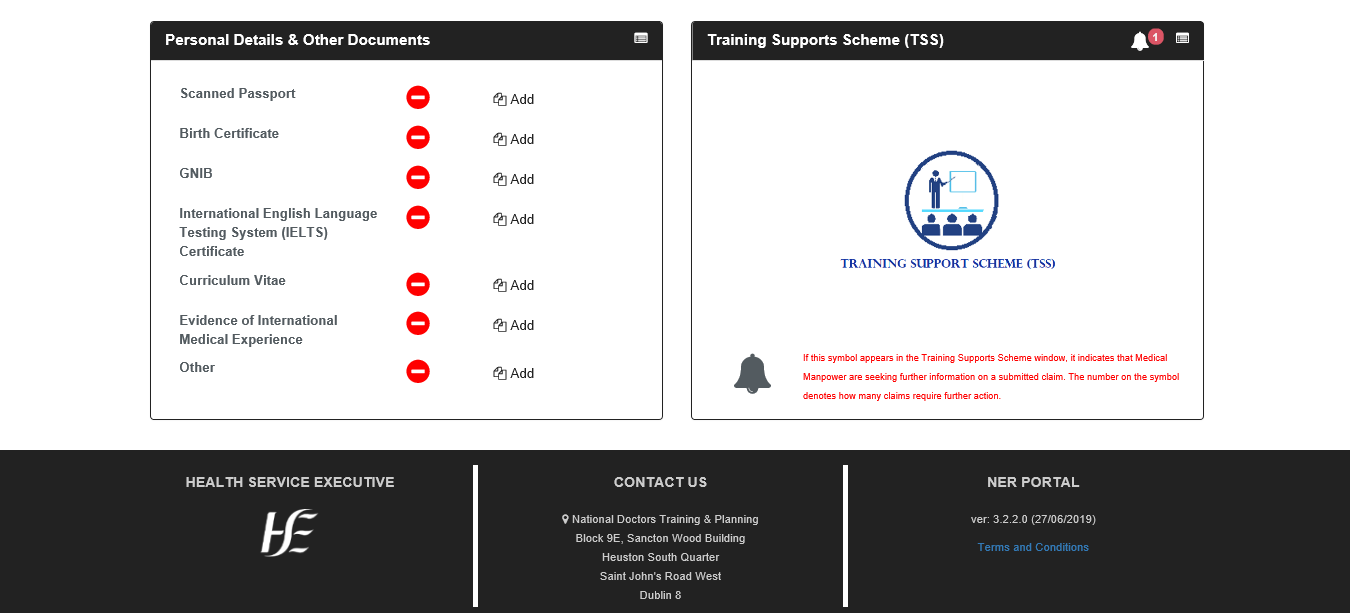
2. When opened the Home Page displays an overview of your Employee Details, and a documentation section, listing required and other documents.


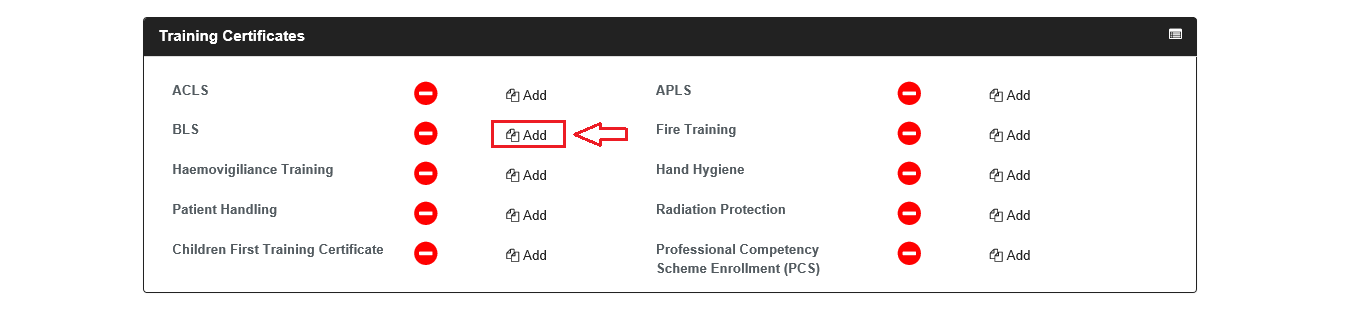
Submitting a Document
1. It is possible to submit a document by clicking on the “Add” button.
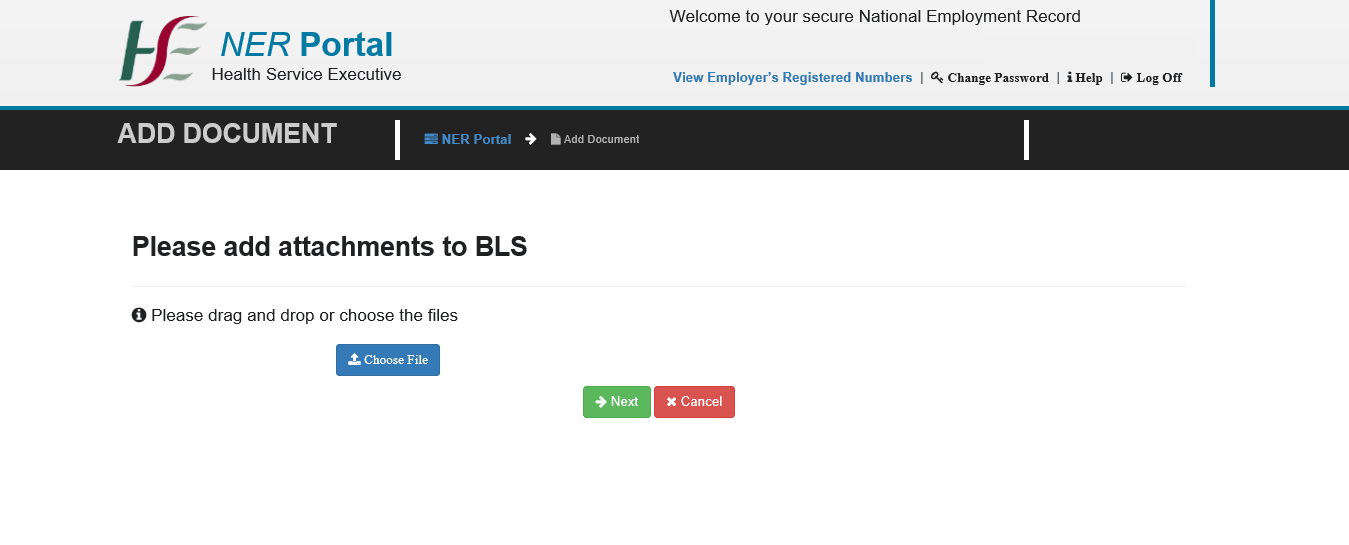
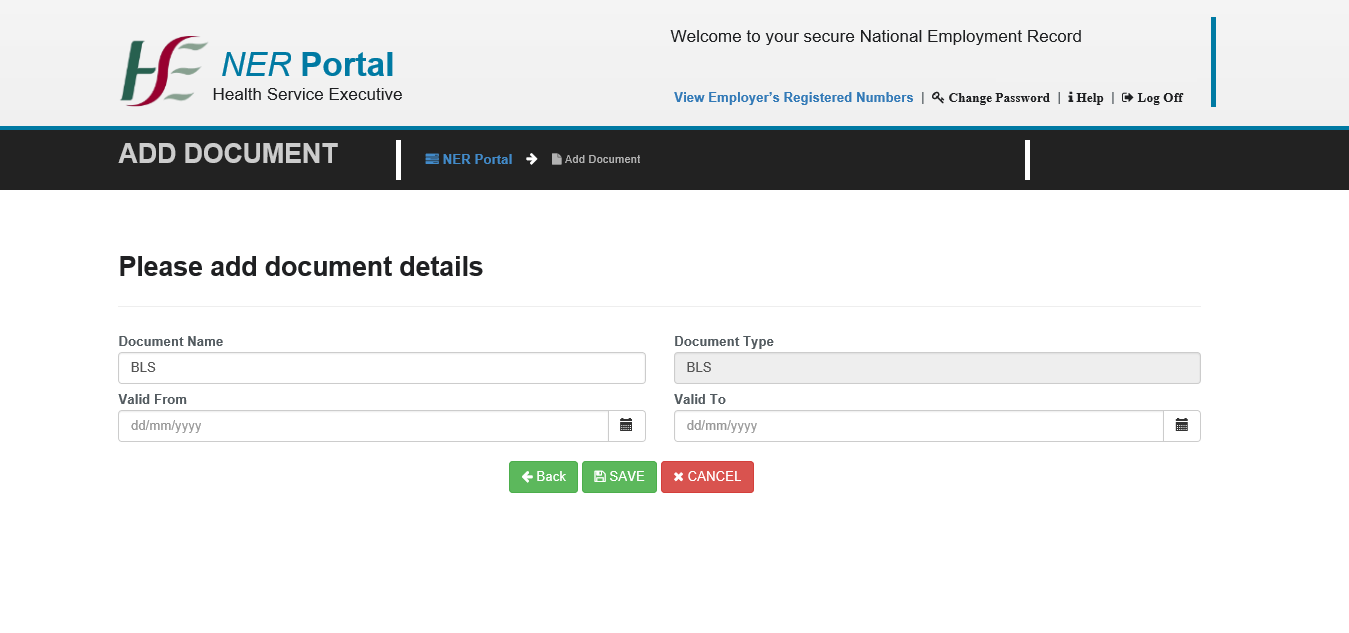
2. The “add document details” screen will then appear the "Attachments” dialog, which allows you to select a document you want to upload (Supported document types are jpg, pdf, png & upload size limit is 5MB). Click “Choose File” which will present the choose file window.
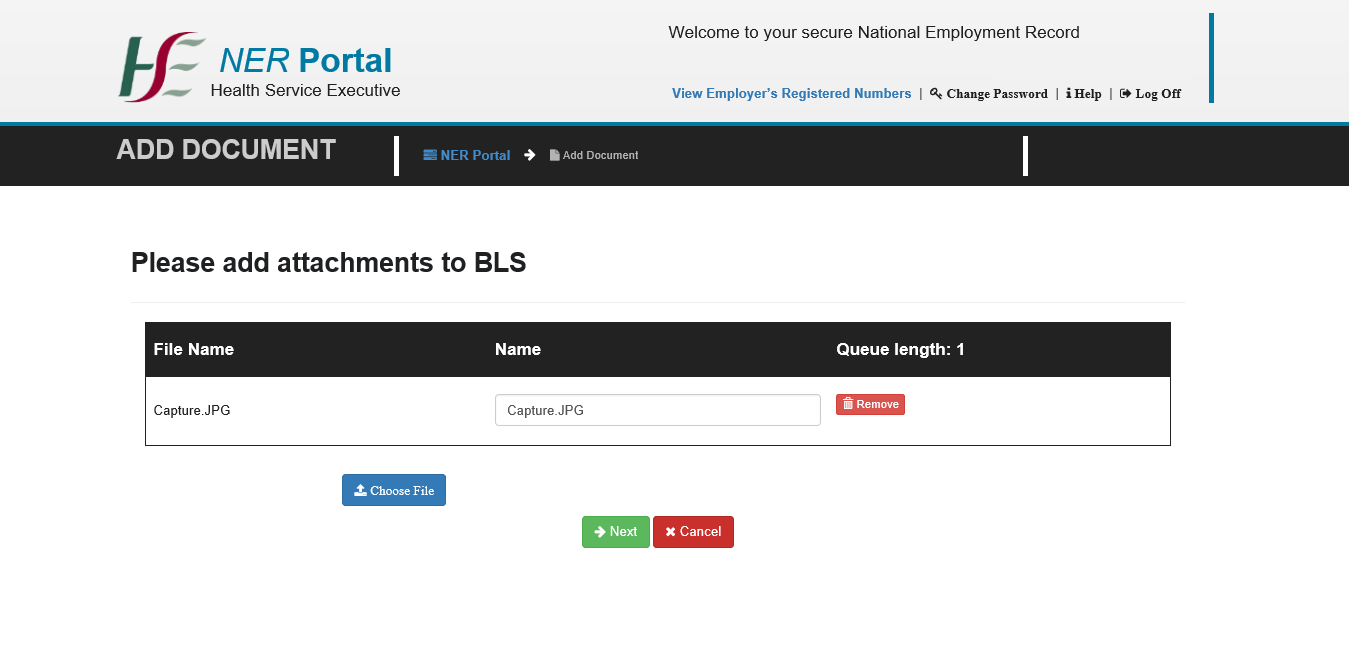
3. Choose a file and click "OK" to confirm the choice. You can add multiple files or just one and select “Next” which initiates upload process and once the files have been submitted successfully they are presented in the System.
4. The "add document details" scree wille then appear allowing you to enter the document name as well as “Valid from” & “Valid to” dates.
6. Uploaded documents are stored with a “Submitted” status until they are vetted and approved by an Admin user.
Document Statuses
1. Expired or Missing: Document of the type has not been provided, or has expired.

2. Submitted: Document submitted, but not yet approved by HR.

3. Nearing Expiry: Document submitted and approved, but nearing expiry dates.

4. Verified: Document is submitted and approved by HR or uploaded by HR.

Viewing a Document
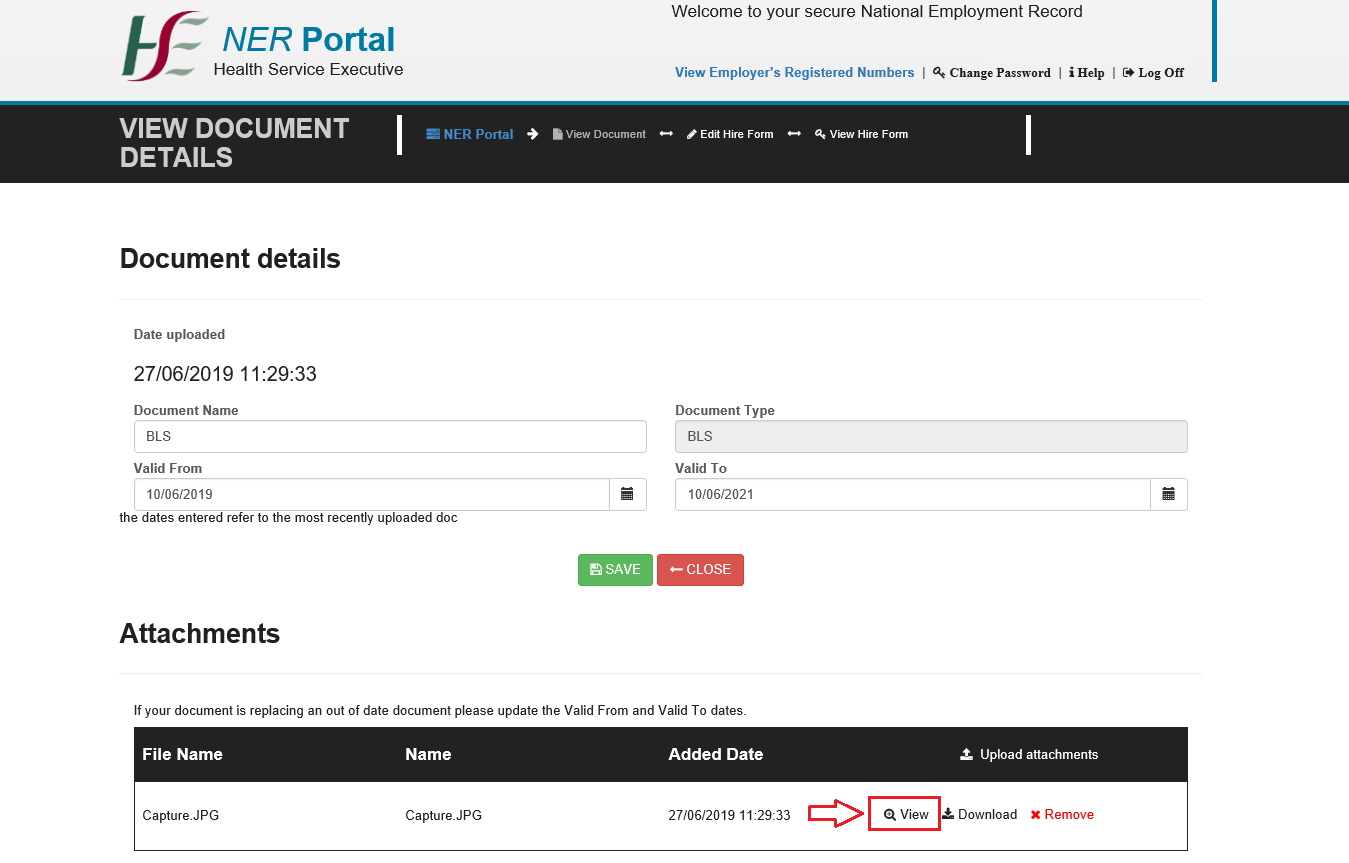
1. To view the details of a document click on the document link in the list of documents displayed on the Home Page.
2. The system then opens the Document Details View screen. From here select the “View” button to preview the document. You will also have the option to open the document in a new tab or download the document.
Editing a Document
1. To update certain details relating to a document click on the “Edit” link in the Document Details screen.
2.
The system then opens the Edit Document Details screen which will allow you to update the following fields:
• Document Name
• Valid From
• Valid To
Types of documents that are submitted by the Medical Manpower Manager
• Garda Vetting:
• Occupational Health Certification:
• Work Permit:
• Validated blood sample for EPP Doctors:
• Passport:
• Birth Certificate:
• Marriage Certificate:
• BLS Cert:
• ACLS Cert:
• IELTS Cert:
• Evidence of international medical experience (if applicable):
• Hand Hygiene:
• Fire Training:
• Patient Handling:
• Radiation Protection:
• Haemovigiliance Training:
• 2 Years
• Not Mandatory
• Depends on the type of Permit
• N/A
• N/A
• N/A
• N/A
• 2 Years
• 2 Years
• N/A
• N/A
• 2 Years
• 2 Years
• 3 Years
• N/A
• 2 Years
Training Supports Application Form

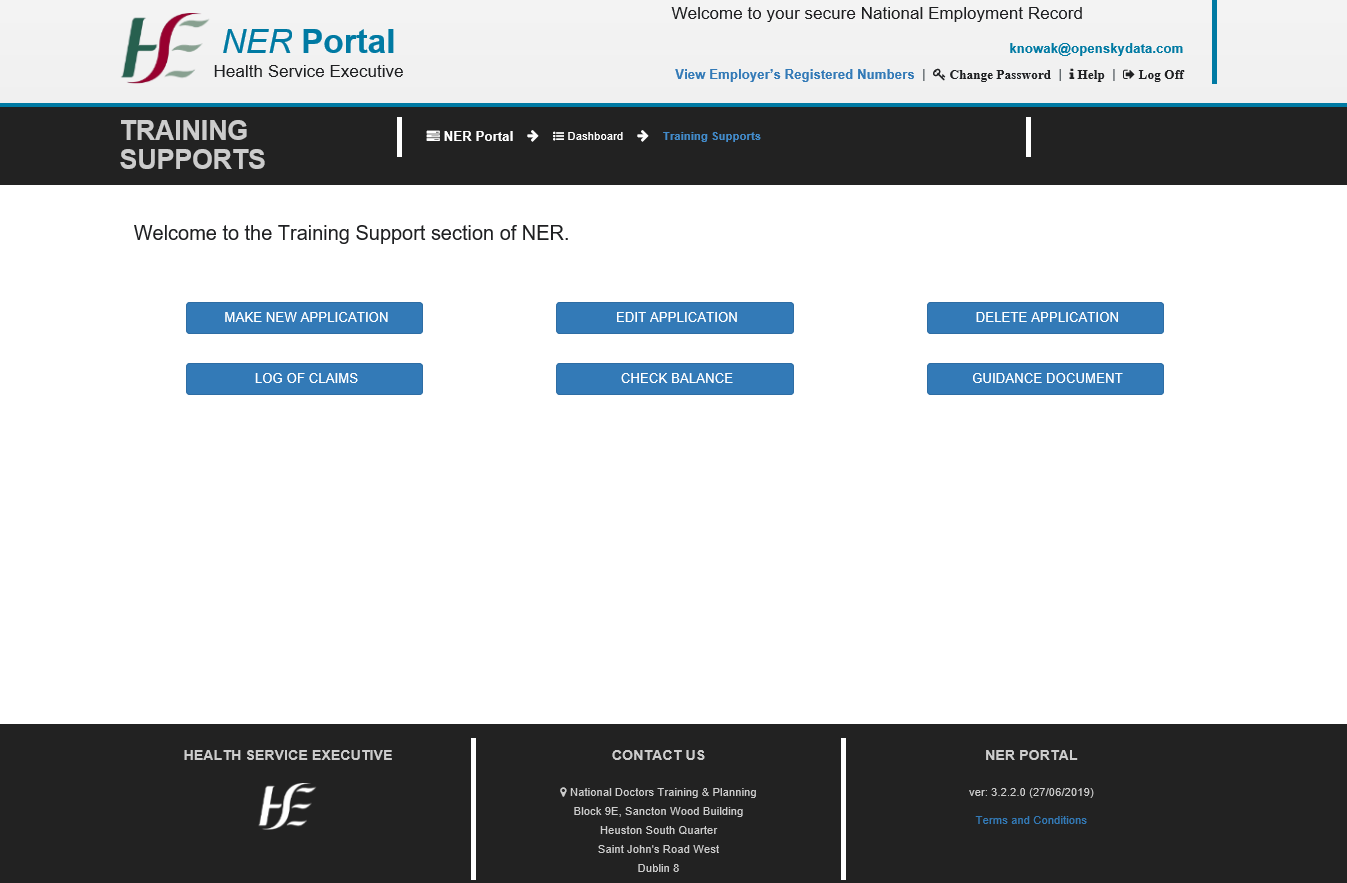
2.
The Training Supports main page has these six sections within, as described below:
• Section 1: Make New Application
• Section 2: Edit Application
• Section 3: Delete Application.
• Section 4: Log of Applications
• Section 5: Check Balance
• Section 6: Guidance Document
Make Application
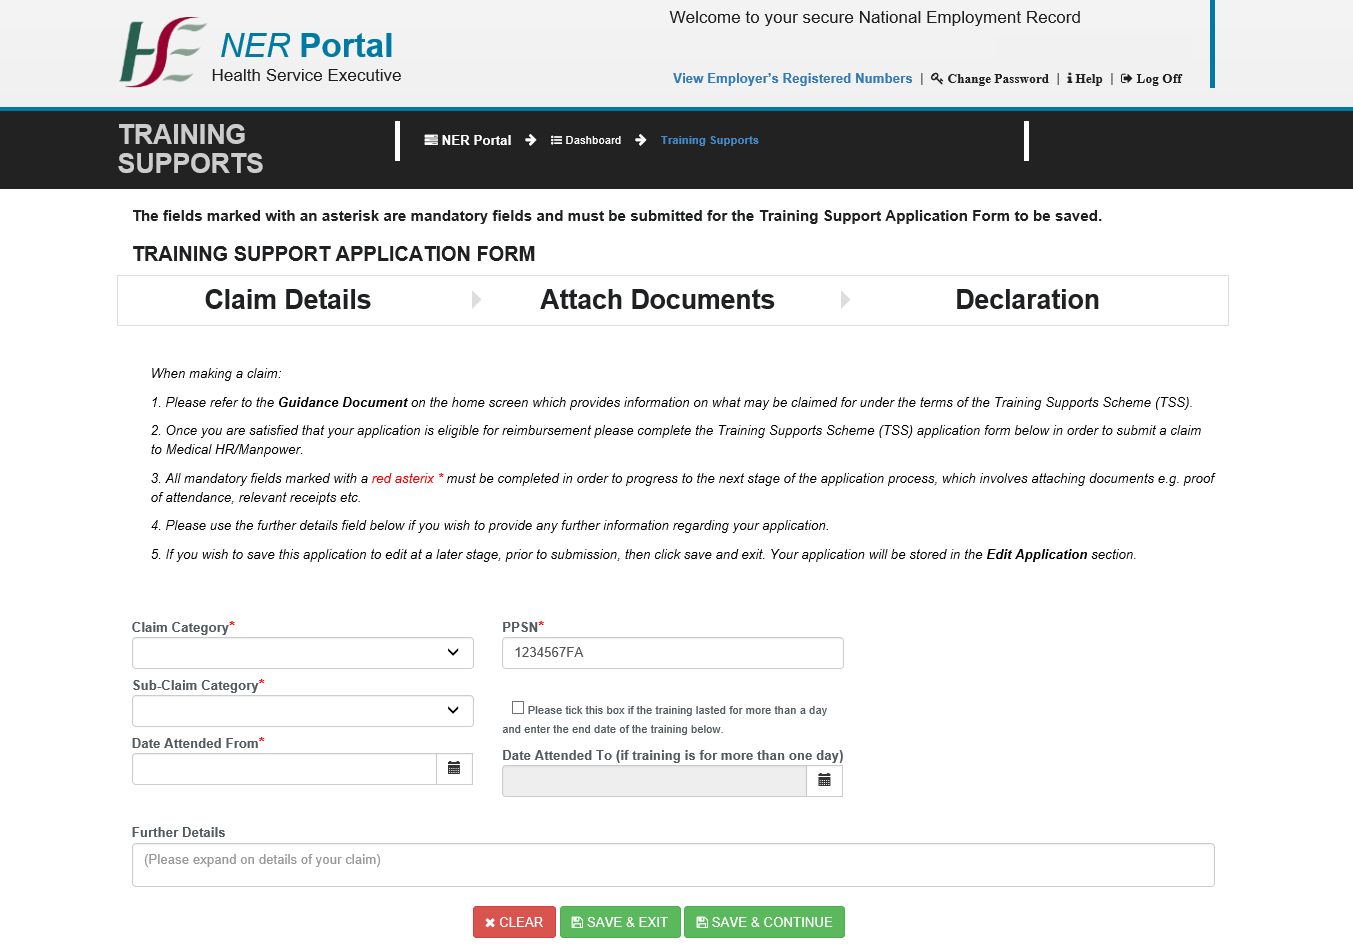
2.
The TSA Form will have Three Sections:
• Section 1: Claim Details
• Section 2: Attach Documents
• Section 3: Declaration
Claim Details
2.
As a NCHD, I should be able to fill in some of the personal basic details and details of the training attended, such as:
• Claim Category
• Sub-Claim Category
• PPSN
• Date Attended From
• Date Attended To (if training is for more than one day)
• Further Details
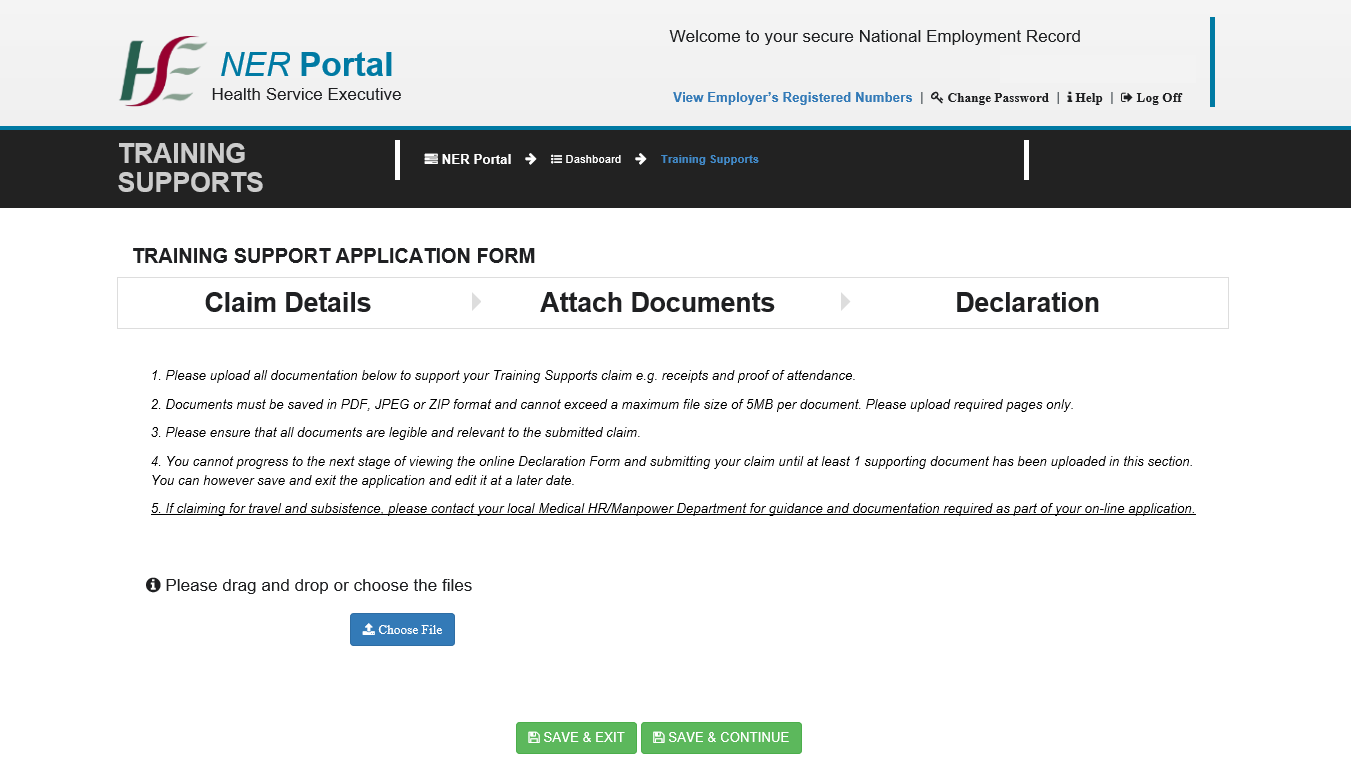
Attach Documents
1. User: NCHD, System: NER, UI: NER – TSA Form – Section 2.
Declaration Form
1. User: NCHD, System: NER, UI: NER – TSA Form – Section 3.
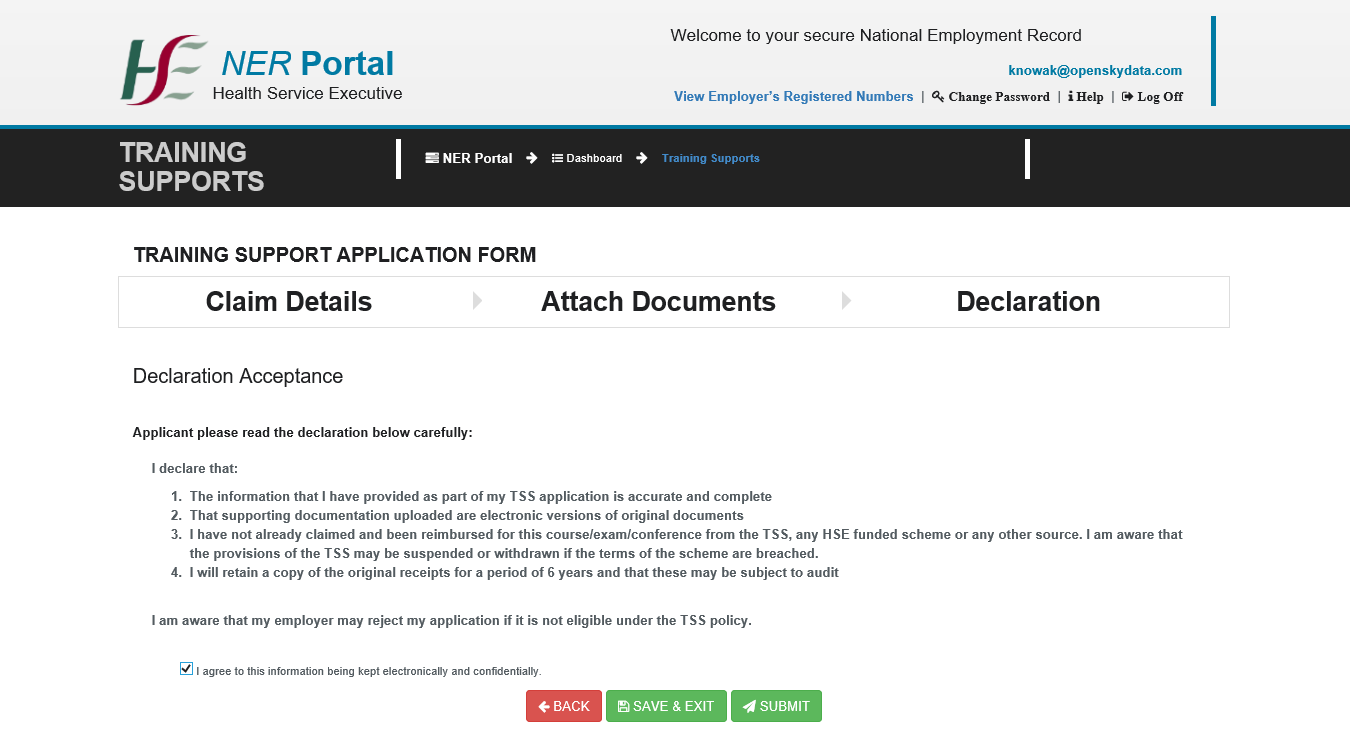
2.
In this section the NCHD should see:
• The Declaration Statement
• A check box with side text stating that the user is accepting this declaration by checking this box.
• Submit Button
• Back Button
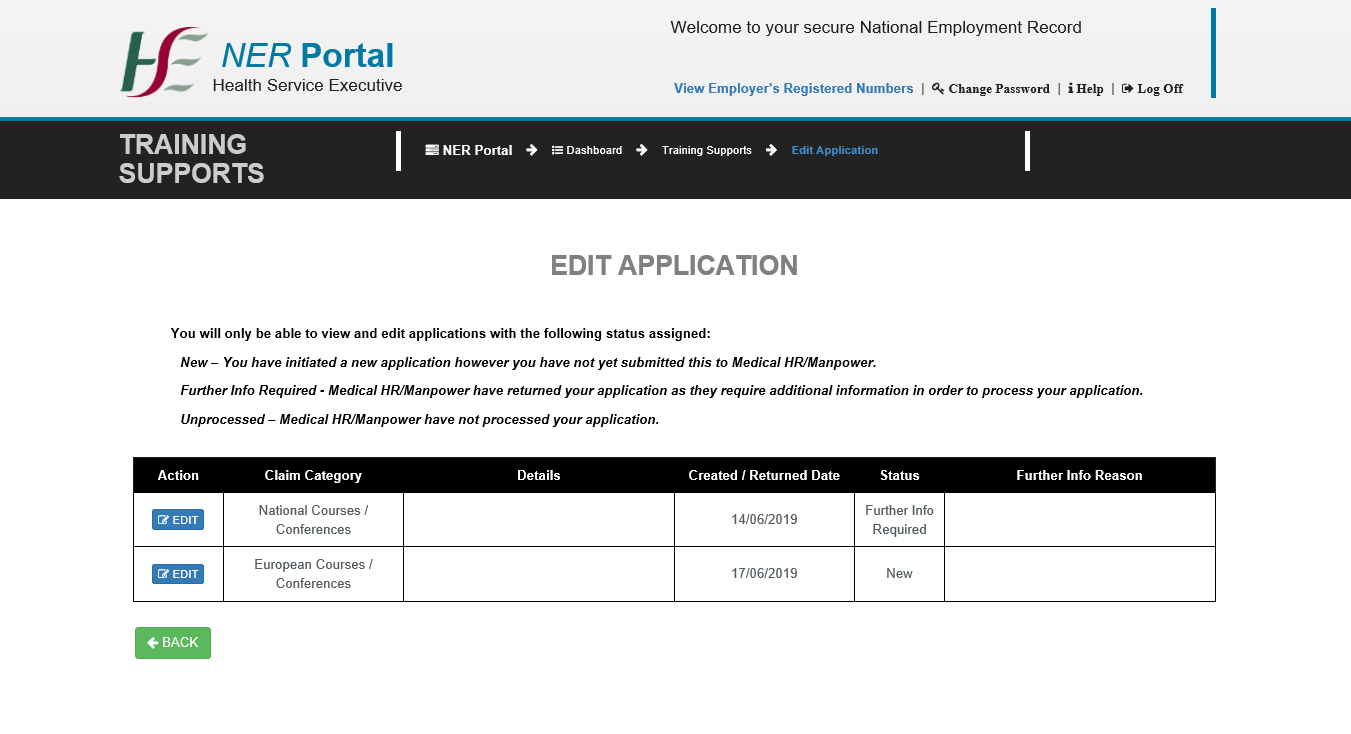
Edit Application
1. As a NCHD, I should be able to click the application which I want to edit and then click on the edit button at the end of the table. This should take me to the TSA form which will look the same as in the Section 1-Make Application, but with the details that are already filled in before when it was saved and then progress sequentially to Section 2 & 3.- Uploading supporting docs and Declaration form. . Once in the TSA Form, the functionalities are same as in the Section 1 (Make Application)..
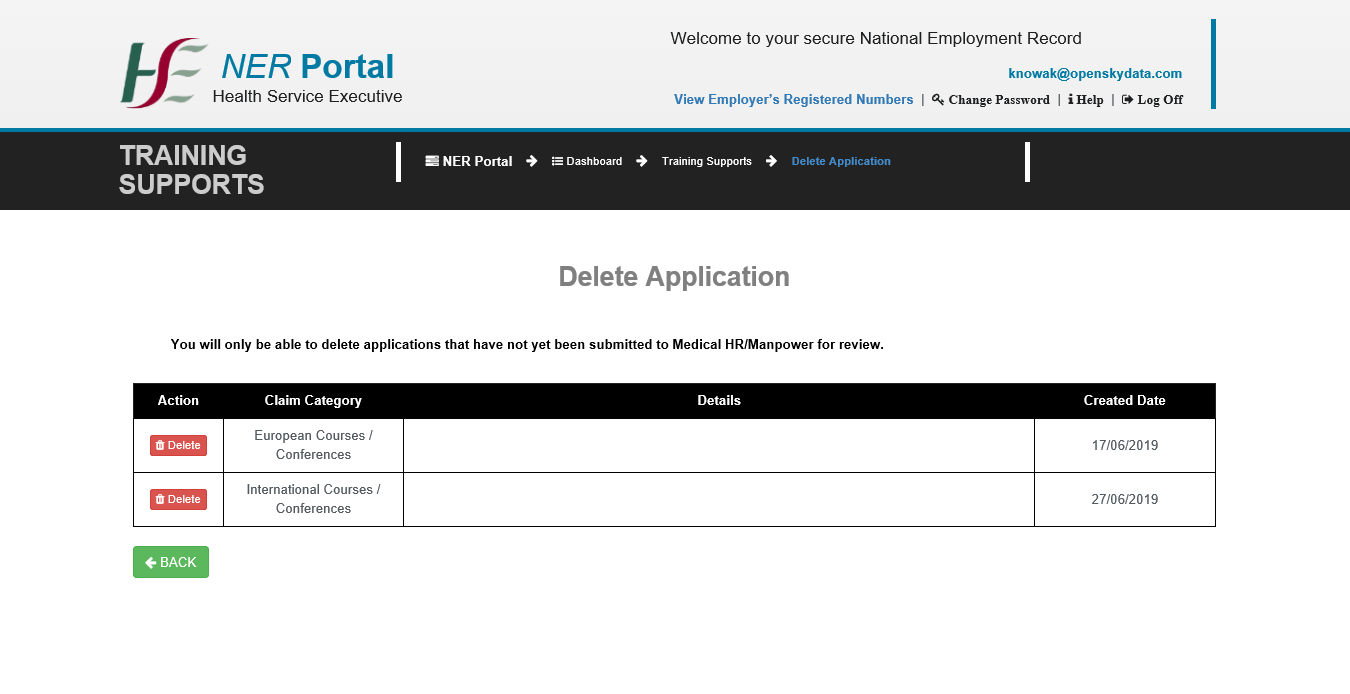
Delete Application
1. Use Case 1: Delete When you click on a particular application it will ask for confirmation of deletion. If confirmed the application will be deleted. Once, the application is deleted all the data that was saved for that application would be lost.
Log Of Applications
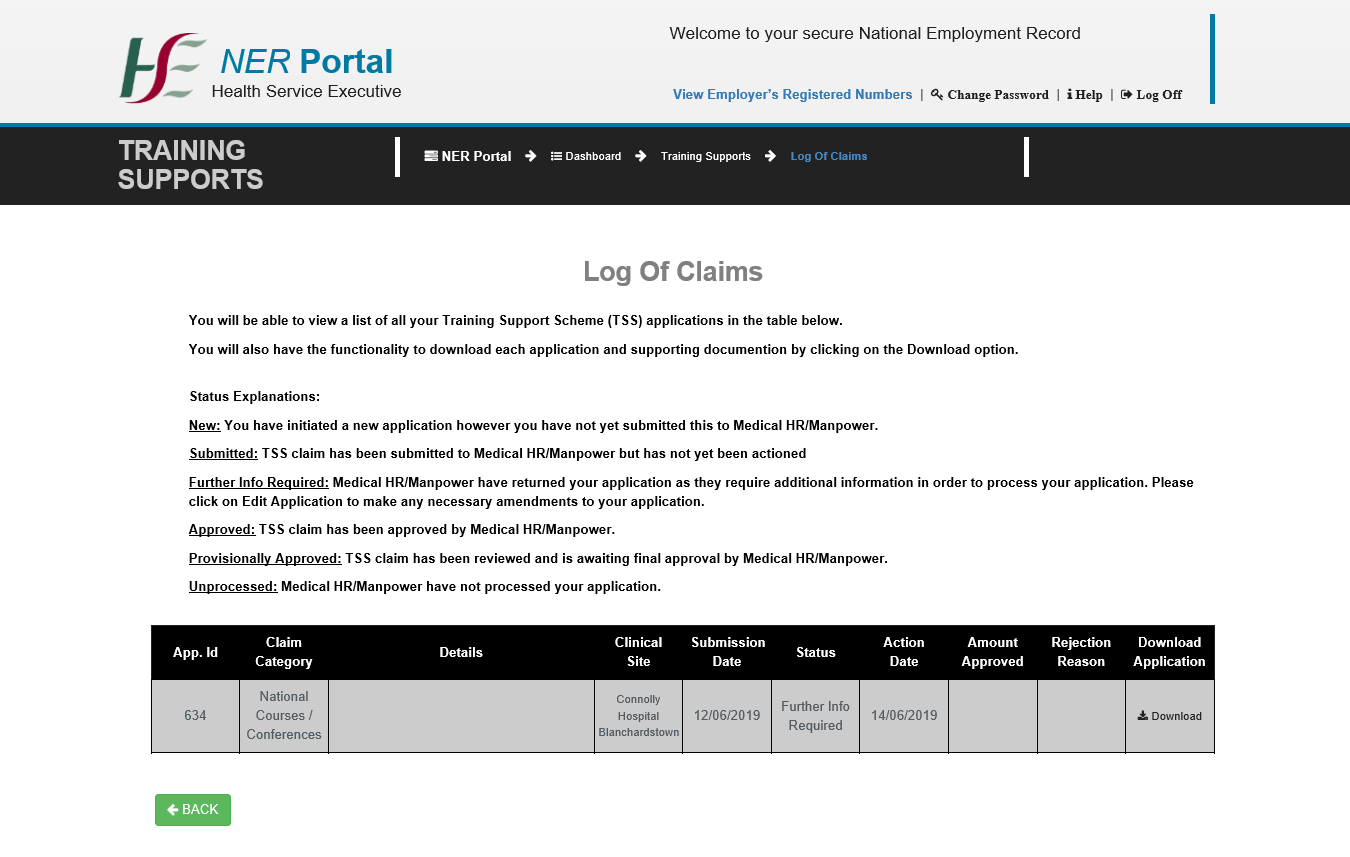
2.
TSA form status should reflect in Log Claims table, with either one of these statuses:
• New
• Submitted
• Further Information Required
• Rejected
• Provisionally Approved
• Approved
• Unprocessed
1. The NCHD can download all his previous applications that were ever submitted or processed by the MMM in this section. It will download in a zip file. The Zip file contain the PDF version of the application and all the supporting documents in the original format in which they were uploaded.
Check Balance
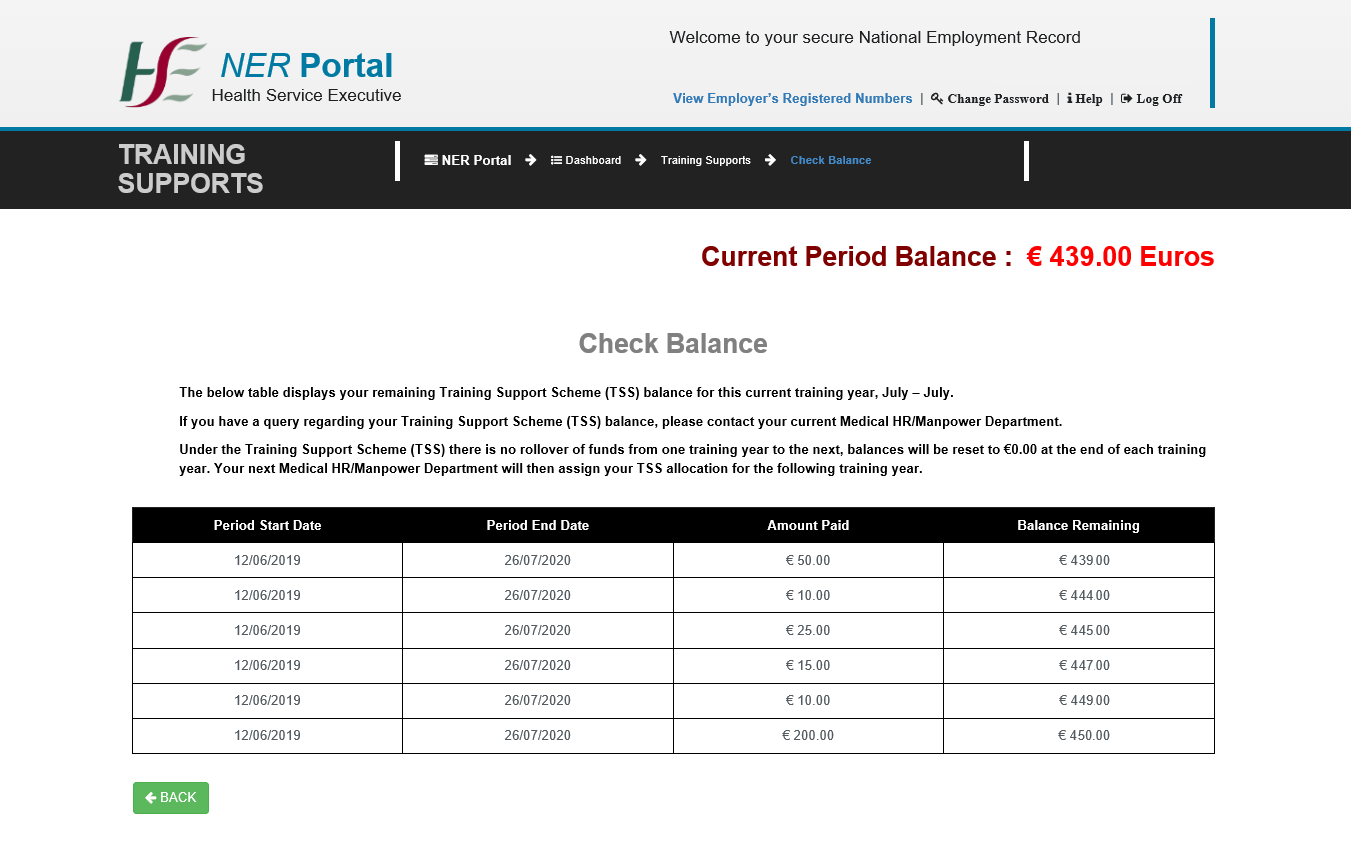
2.
The balance table will have the following columns:
1. Period Start Date
2. Period End Date
3. Amount Paid
4. Balance Remaining
Guidance Document
1. This document is meant for NCHDs to be aware of what they can claim for under this fund.